Stable Door
I bought an old stable door without measuring the gap first. Foolish.
Published 17th March 2018 by Henry
The old door looked great until I smothered it in varnish remover. This destroyed the four bullseye panes – it took me a while to realise that they aren’t glass, they’re plastic! The varnish remover corroded them so they became cloudy and opaque. If you ever find yourself using varnish remover on a window frame or door with a window in it, make sure the panes won’t be eaten by the varnish remover. That’s my tip.
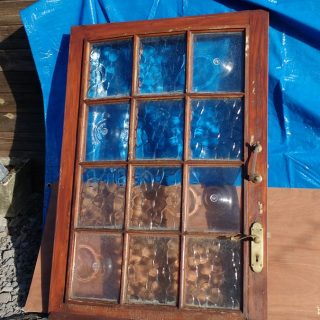
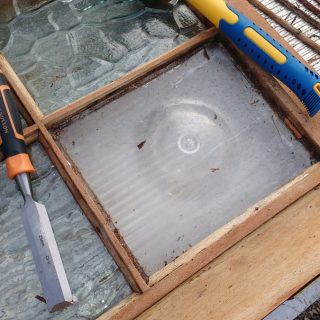
I really didn’t want to have to mess around with the door too much, but I couldn’t see a way around this so my only option was to replace the panes. In the end, I’m really glad I did because it meant I could use acrylic panes instead of glass which is a lot lighter and less breakable – ideal for a vehicle.
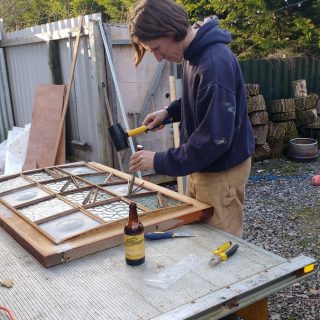
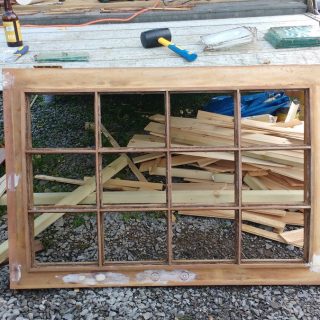
The acrylic sheet. What a nightmare to cut. I managed to shatter most of it when I tried to use a wood jigsaw blade and when I tried to drill holes in it. I’ve never changed window glass before so I started using Gripfill on the first pane. Huge mistake. For the rest I used silicone sealant to seat the pane and PVA glue under the beading. When all the panes and beading were in place I went over it with some filler so it’s all smooth.
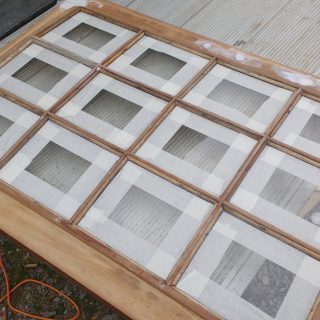

Panes and beads in place, masked up for painting
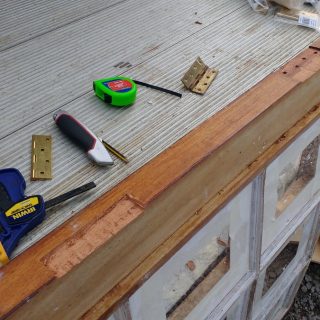
Chiseled out some hinge spaces
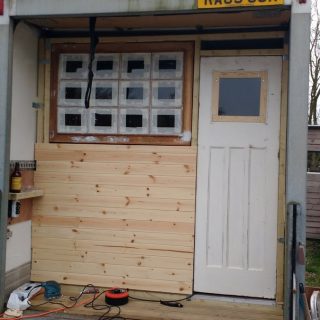
Stable door in place... as a window
Painting the stable door
Once the glue and filled had all set, I put the door in place… As a window. A bit of green paint and it’s all looking good.

Leave a Reply